Vegan Flatbread Recipe
An easy vegan flatbread recipe for amazingly fluffy, soft flatbread every time! A really simple flatbread recipe that you can knock up in just a few steps (with a one-hour hands-off proving time), and so easy to customize with different herbs, spices, and toppings.
This recipe could even be adapted to make vegan flatbread pizza, or topped with vegan cheese and seasonings for a delicious dinner all by itself!
I first started making these flatbreads back in 2020 when we were in the depths of lockdown and it seemed like everyone and their neighbour was baking bread and banana bread to pass the time!
And I have to say, the results from using just simple ingredients and a bit of patience are truly amazing.
These vegan flatbreads are a great option for making bread quickly because the flatbread dough only needs a first proof (1 hour), and you can then form them into patty shapes and cook in a skillet or non-stick pan. No second prove needed

How To Make Vegan Flatbreads (No Yogurt!)
Typically, flatbreads are made with yogurt. To make this recipe vegan, I instead used olive oil and water, and they still turn out beautifully fluffy and soft - I really have to resist just eating one after another when they're fresh and still warm straight out of the oven!
You don't need any special equipment for this recipe - a mixing bowl to mix up your ingredients, and a baking sheet or cast iron skillet for cooking these easy flatbreads is about it.
Step 1: Combine the dry ingredients
To make this vegan flatbread recipe, you'll start by combining the all purpose flour, activated instant yeast, and a generous pinch of salt in a large bowl. You could also add a little garlic powder here.
Step 2: Add the wet ingredients
Then, add olive oil and slowly pour your room temperature water into the dry ingredients, gently combining with your hand until it forms a dough. You might not need all the water stated in the ingredients in the recipe card below.
I've also seen some people using almond milk or another plant-based milk like oat milk which could work great - although I've not personally tested this variation yet!
Step 3: Knead Your Dough
Next, tip the dough out onto a floured work surface and knead for 4 - 5 minutes until the dough is springy and holds together.
Place back in a clean mixing bowl coated with a little bit more olive oil, and cover. Leave to prove for one hour in a warm room.
Step 4: Make Your Dough Balls
After one hour, the dough should have doubled in size (this never fails to be an exciting reveal for me!) Tip the dough out onto a floured surface again and separate into 5 or 6 equal pieces.
Roll the pieces into dough balls and then flatten into patty shapes or roll them out using a rolling pin if you want much thinner pizza dough bases. They don't have to be perfect circles - rustic is best for homemade flatbread, in my opinion!
Step 5: Cook Your Flatbreads
Once you have your patties ready, heat a skillet or non-stick pan, and gently add your first flattened dough ball. Cook on medium-high heat for 2 - 3 minutes - the dough will puff up and may form bubbles in places.
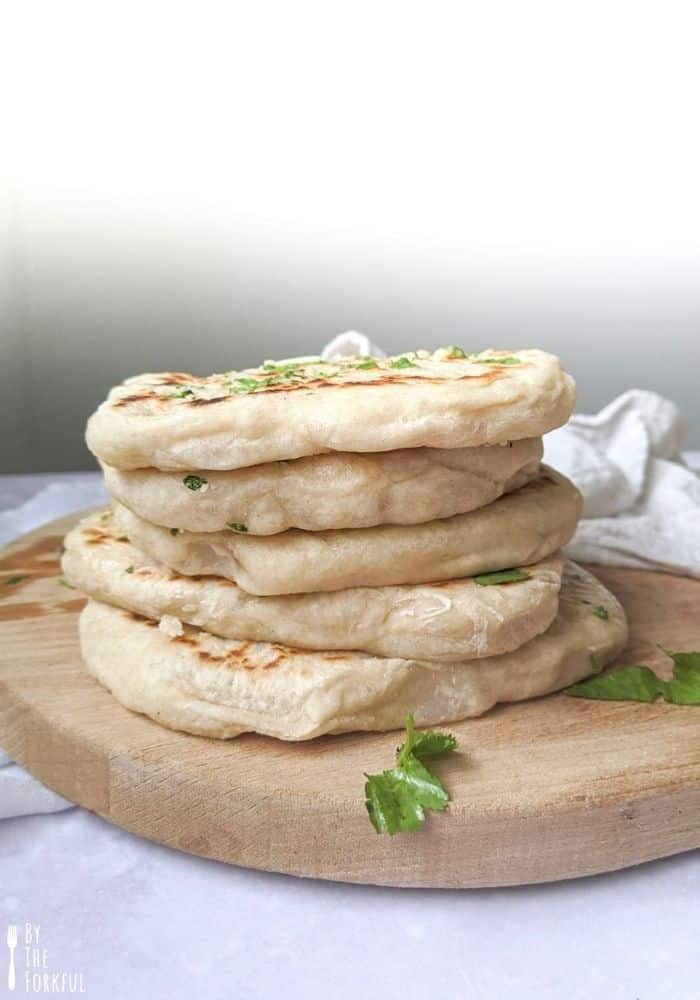
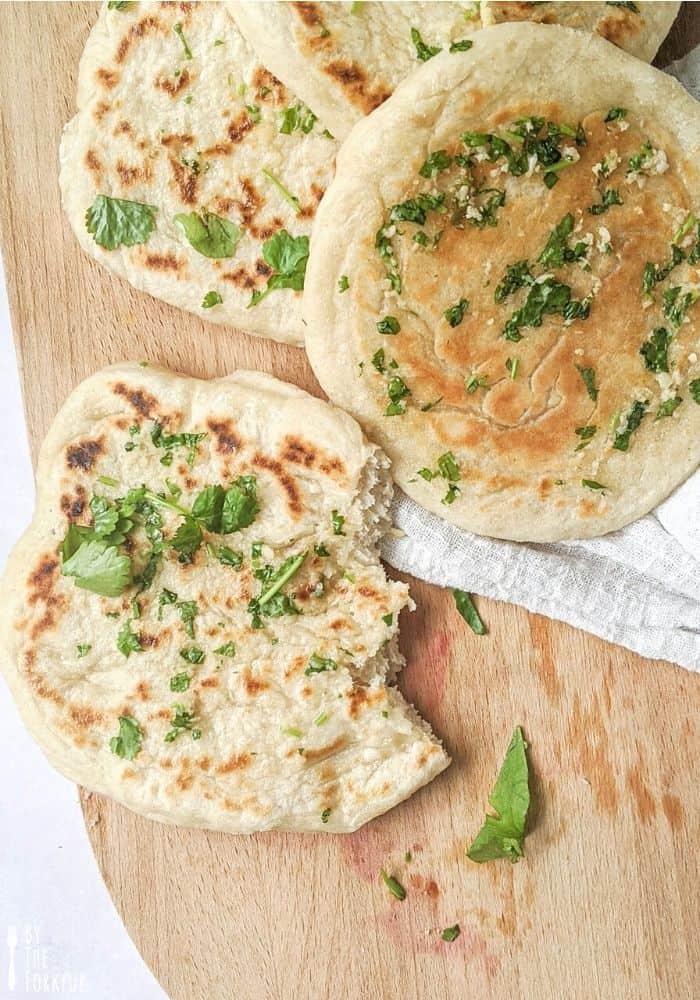
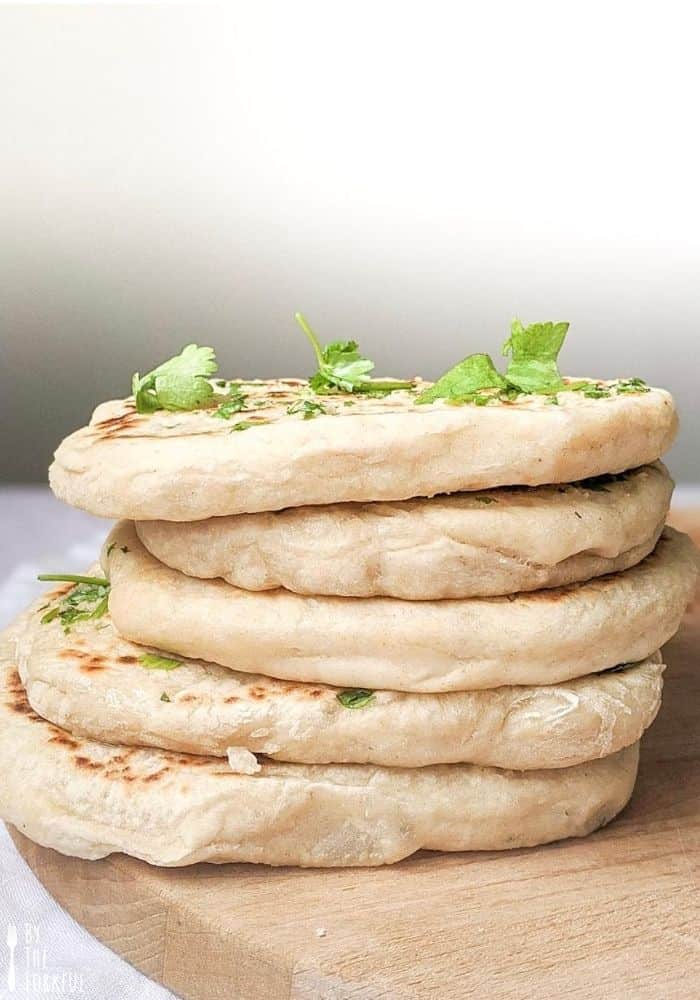
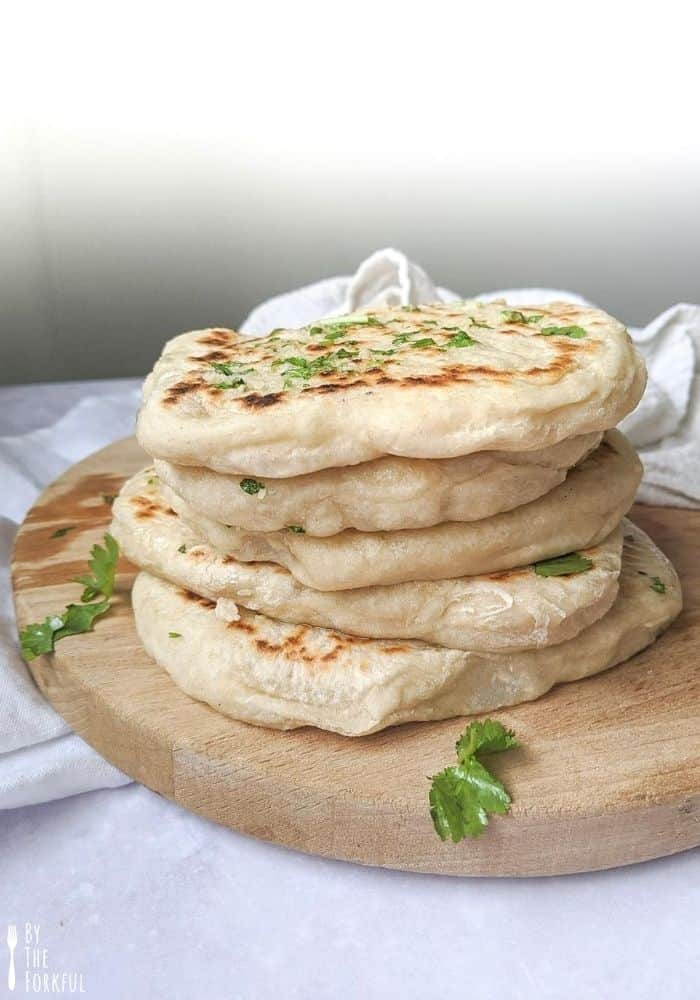
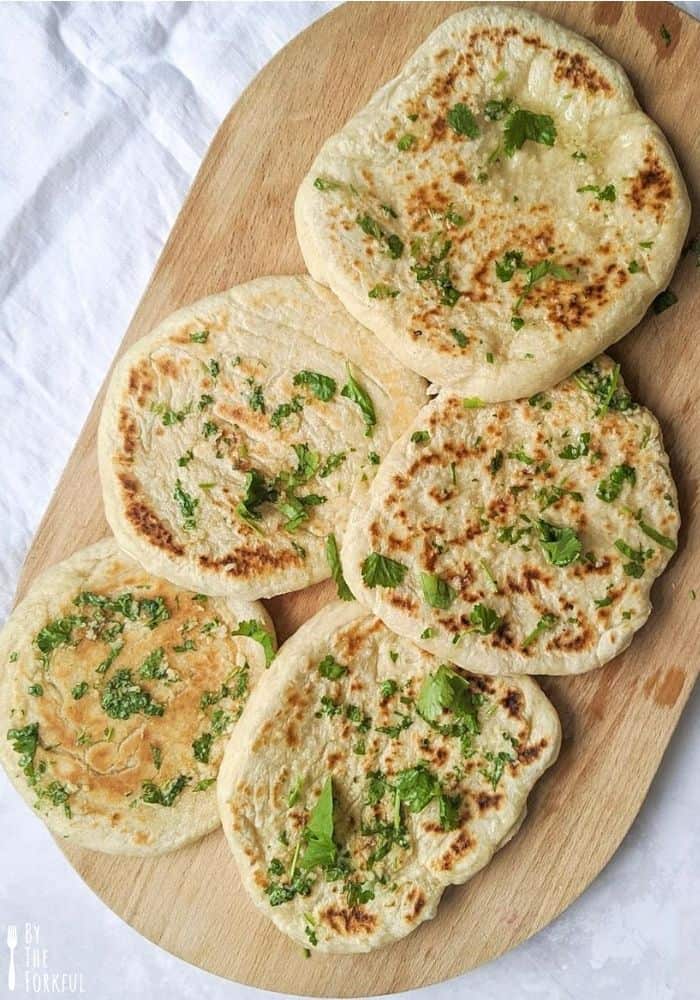
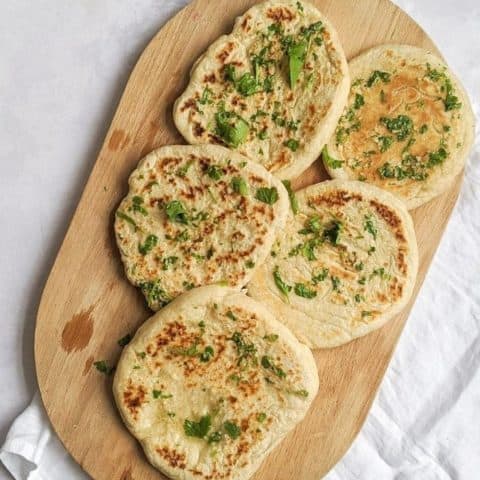
Flip the flatbread and cook for the same amount of time on the other side. As you can see from the pictures, the flatbread should be golden brown and even slightly charred in places. This results in beautifully fluffy flatbreads that you can then load up with ingredients such as red onions, red peppers, kalamata olives, hummus, and more. Alternatively, you could spread some pizza sauce, vegan cheese, and your favorite toppings over the flatbread dough before cooking, then place in the oven for 15 minutes for a homemade flatbread pizza.
Expert: Once the flatbread is cooked on both sides, place on a cooling rack and brush one side with your garlic and herb topping, if using! This simple recipe is also great with fresh basil and diced sundried tomatoes - yum!
Serve with these baked feta chickpeas for a gorgeous meal!
Other recipes I think you might like:
These are best perfect fresh and warm, but should keep for a few days in an airtight container in the fridge - simply re-heat in a pan or pop in the toaster. I would leave the herb topping off until you are going to eat the flatbread.
Vegan flatbread toppings:
A few amazing toppings for these flatbreads include:
- Garlic, coriander, and olive oil (pictured)
- Garlic and parsley butter
- Baba Ganoush
- Harissa paste
- Hummus and roasted chickpeas
- Guacamole
- Sun-dried tomato sauce with grilled vegetables (like a mini pizza!)
- Topped with vegan pesto and toasted pine nuts, red pepper flakes, or sunflower seeds.
You can also use this dough as a great base to make pizzas - instead of separating into 5 or 6 pizzas, you can simply roll out the dough to form two large pizza bases, top them with whatever toppings you want to use, and then bake in the oven for 15 minutes until cooked!
Expert Tips:
- This recipe is great for making in a large batch - simply double up the ingredients and freeze any cooked flatbreads for later! They should store for up to 3 months wrapped in cling film.
- For best results, store the dough in a warm room while proving and keep covered.
- Avoid making your dough patties too thick or the middle might not cook if you're cooking them in a skillet.
- These flatbreads are amazing as a side dish, but also make a fantastic base for your favourite marinara sauce and pizza toppings - I'd recommend cooking on a baking tray, not directly on an oven rack, however.

Vegan Flatbread Recipe
A really easy vegan flatbread recipe using simple ingredients. These taste absolutely amazing - so light and fluffy, and perfect brushed with a garlic and herb mix for extra flavour.
Ingredients
- 300g strong white bread flour
- 7g dried yeast
- 2 tablespoon olive oil
- 110ml lukewarm water
- 100ml warm plant-based milk
- pinch of salt
(optional) Garlic + Herb Topping
- 2 teaspoon minced garlic
- Handful (~2 tbsp) chopped coriander
- 1.5 tablespoon olive oil
Instructions
- Add your flour and yeast to a mixing bowl with the salt and stir to combine.
- Add your oil, then slowly add the water aannd milk (the water should be warm to the touch but not hot!). You might not need all of it.
- Start to combine the ingredients into a dough - when it all starts to come together, flour a clean work surface and tip the dough out, then knead for about 5 minutes. The dough should spring back on itself.
- Wash out your mixing bowl, dry, and then add a drizzle of olive oil. Add the dough back to the bowl and toss it to coat it in the oil so it doesn't stick to the bowl.
- Cover and leave to prove for 1 hour.
- After proving, tip your dough out onto a lightly floured surface again and separate into 5 - 6 pieces (I only got 5 out of my dough in the pictures).
- Prove for another hour ( you can skip this step, but this is what results in super fluffy flatbreads!)
- Roll each piece into a ball and then flatten out. The dough should be about 1 - 2 cm thick - it will puff up when cooking.
- Heat a griddle or frying pan on a medium to high heat, and add a small coating of olive oil if your pan isn't non-stick.
- Gently add your first flatbread and cook on one side for 2 - 3 minutes. Keep an eye on it as it may be done quicker! The flatbread will puff up and bubble in places.
- Flip the flatbread - it should be golden brown or even charred if that's your preference in places, and cook for the same amount of time on the other side.
- Repeat for all of your dough. If you have enough space in your pan, you can cook more than one at a time.
- As soon as each flatbread is ready, brush one side lightly with your garlic and herb topping.
- Best served fresh!
Notes
These do keep for a couple of days, best wrapped in a cloth and kept in an airtight container. However, they are best eaten fresh.
The dough should keep in your fridge for up to two days - just leave it to return to room temperature (30 - 60 minutes) before separating and cooking.
Nutrition Information:
Yield: 6 Serving Size: 1Amount Per Serving: Calories: 256Total Fat: 9gSaturated Fat: 1gTrans Fat: 0gUnsaturated Fat: 7gCholesterol: 0mgSodium: 25mgCarbohydrates: 37gFiber: 2gSugar: 0gProtein: 7g